Integration Layer Example
Warp to the code: Integration Layer Example
What is it Link to heading
Example integration layer implementation, built on Quarkus. Includes main core module, that implements bare minimum. Additional resources (modules, implementing exposed endpoints and corresponding logic) and clients (modules, implemeting logic to communicate with other systems) are implemented as extensions.
Task description Link to heading
This example implementation is solving a made-up story. Key points:
- There is a Central Warehouse, that store information about inventory items
- Warehouse expose a set of endpoints, however security/business requirements limits opening that endpoints to “big world”
- There are specific rules and data flows for processing inventory items on Warehouse backend, not all items/fields can be freely updated at any moment
- There is a Petshop(-s), that is(are) a source of inventory items
- Petshop push new and updated items on some basis (when changed, or on time schedule)
- Petshop wants to know if inventory item push to Warehouse failed and why
Structure Link to heading
Code is organized as maven multi-module project. Modules can be divided into 3 categories:
- core - entry point of the solution. Implement bare minimum
- integration-layer-core - base code, exposes healthcheck endpoints
- extensions - modules adding new endpoints or clients to the solution
- integration-layer-commons - common module, holding classes and code that should be imported into othe modules
- integration-layer-petshop - module, adding endpoints, that can be used by 3rd party service (Petshop) to push data requests. It also implements specific data flow processing, required to import data into destination system
- integration-layer-warehouse - module, adding REST client, used by petshop module to access Warehouse backend endpoints. Client definitions are primarily generated by generator module from tools
- tools - helper modules, used to generate/process data required to implement other modules
- integration-layer-warehouse - module, using quarkus-openapi-generator to generate REST client classes from openapi definition. Potentially this library can be injected directly into integration-layer-warehouse. But then if warehouse openapi would contain large set of endpoints, generated client can be rather bloated. Being separated, we could generate client and then pick and copy only the endpoints that re needed for solving concrete task.
Initiating new extension Link to heading
Quarkus extension project consists of 2 separate parts - runtime (exactly needed functionality) and deployment (used by Quarkus in build time to inject extension). Runtime part artifact will be equal to the name of extension. Deployment will have suffix ‘-deployment’. See Quarkus - Writing your own extension. It is possible to use normal java dependencies. However, extensions result in more optimized code… as Quarkus documentation states.
Initiate new extension:
mvn io.quarkus.platform:quarkus-maven-plugin:2.16.6.Final:create-extension -N \
    -DextensionId="integration-layer-petshop" \
    -DextensionName="Petshop Integration" \
    -DextensionDescription="Demo extension, implementing endpoints for Petshop"
Post-wizard steps Link to heading
After creating new extension and implementing there some endpoints, it is possible that new endpoints wont be visible. That happens because new resources have to be indexed to be added into core module. Steps to be done:
- Add your extension into parent project modules list in integration-layer/pom.xml
- Add RUNTIME library to dependencies of integration-layer-core/pom.xml
- IMPORTANT Add build stage for jandex-maven-plugin into RUNTIME part of extension. It is needed to make extension endpoints registered. Build stage plugin:
<plugin>
    <!-- https://github.com/wildfly/jandex-maven-plugin -->
    <groupId>org.jboss.jandex</groupId>
    <artifactId>jandex-maven-plugin</artifactId>
    <version>${maven.jandex.version}</version>
    <executions>
        <execution>
            <id>make-index</id>
            <goals>
                <!-- phase is 'process-classes by default' -->
                <goal>jandex</goal>
            </goals>
        </execution>
    </executions>
</plugin>
After re-building new endpoints should be visible on openapi.
Configuration Link to heading
Integration Layer main configuration is defined in integration-layer-core/src/main/resources/application.properties. However, each extension can have own properties file. It is also possible to override these values. For example, if appliaction is packed into docker images, options to pass custom properties:
- mount edited
application.propertiesunder/<app-dir>/config/application.properties - mount
.envfile with environment variables under/<app-dir>/.env - set new values through environment variables
Authentication Link to heading
Integration layer supports protecting endpoints with authentication over OAuth. This can be easily achieved by using annotation @RolesAllowed("<role>") on exposed resources, like:
@Authenticated
public class InventoryResource {

    @POST
    @RolesAllowed("user")
    @Produces(MediaType.APPLICATION_JSON)
    public void protectedResource() { }

}
Configuration of OIDC server is done inside integration-layer-core application.properties
# OIDC
%prod.quarkus.oidc.auth-server-url=http://localhost:8180/realms/quarkus
quarkus.oidc.client-id=backend-service
quarkus.oidc.credentials.secret=secret
quarkus.keycloak.devservices.realm-path=quarkus-realm.json
Quarkus provides a convinient way of testing authenticated resourcse. When there is %prod.quarkus.oidc.auth-server-url= property defined inside poperties file, devdervices will try to find or start local docker container with Keycloak server. Server will be initialized with realm, defined through quarkus.keycloak.devservices.realm-path property. And after that this OIDC will be used to authenticate endpoints.
Fact, that Quarkus will automatically start Keycloak instance when application is started in dev mode - is useful. However, there is a minor problem, that makes it rather annoying to be used. Each time server is restarted it will be assigned a new port value, as well as re-initialized. That makes it a bit problematic for testing. This can be solved by running own external Keycloak instance
Starting long-running Keycloak container Link to heading
If quarkus can find a running container with label (not name!) 'quarkus-dev-service-keycloak="quarkus"', it will try to use that
one, instead of starting a new container.
Container can be started with docker (or podman):
docker run -d -p 18080:8080 -e KEYCLOAK_ADMIN=admin -e KEYCLOAK_ADMIN_PASSWORD=admin --label quarkus-dev-service-keycloak="quarkus" --restart "unless-stopped" quay.io/keycloak/keycloak:latest start-dev
podman run -d -p 18080:8080 -e KEYCLOAK_ADMIN=admin -e KEYCLOAK_ADMIN_PASSWORD=admin --label quarkus-dev-service-keycloak="quarkus" --restart "unless-stopped" quay.io/keycloak/keycloak:latest start-dev
This will make keycloak available on localhost:18080
After starting own container, import dev realm into Keayloack from integration-layer-core/config/quarkus-realm.json
Openapi Link to heading
Solution includes quarkus-smallrye-openapi extension. It will generate openapi definition of available endpoints and expose it on /openapi path.
Openapi definition URL can be configured using property quarkus.smallrye-openapi.path=<desired path>
Monitoring Link to heading
Solution includes quarkus-opentelemetry extension. It allows to gather and send trace information about application to some monitoring tool .
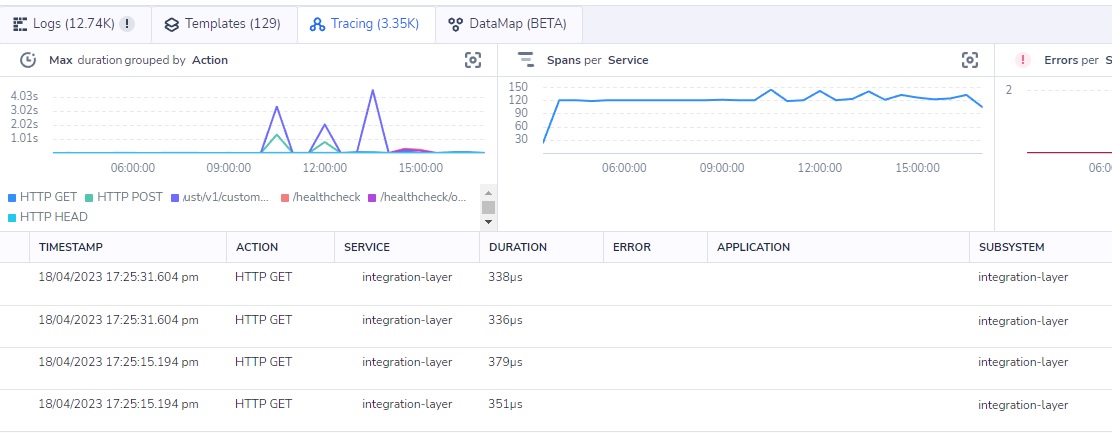
Current state of opentelemetry extension for Quarkus has limitations, however, it already can provide very deep and useful information on application operation.
Building application Link to heading
Quarkus allows to assemble application in two modes:
- assembling JVM runnable jar-file
- building antive executable, using GraalVM
This project is using second approach, because it is obviousely cooler ¯\_(ツ)_/¯. Also there is a Dockerfile in the root that allows packing assembled executable into docker image. Overall process is as simple as:
- Build native executable
- Build docker image
Build native executable Link to heading
If GraalVM with native-image is configured:
mvn package -Pnative
Alternatively, use docker container to build native application
[docker|podman] run -v .:/opt/src -w=/opt/src vegardit/graalvm-maven:22.3.1-java11 mvn package -Pnative -DskipTests=true
or with Maven (have to note that I had problems with this using Bitbucket pipeline, as maven started container was constantly out of memory
./mvnw install -Dnative -DskipTests -Dquarkus.native.container-build=true
Command above will produce an artifact integration-layer-core/target/*-runner.
Build docker image Link to heading
When native executable is ready, building of docker image just running in the root of project:
[podman|docker] build -t <tag> .