Before starting rolling out homelab components, we need to prepare hardware for it. Selection of hardware very wide as mentioned in Homelab. Overview. Back in time, after some tryouts, I personally stopped on usage of Raspberry Pi 4 as my central server. In this blog post, I’ll guide you through the process of preparing your Raspberry Pi 4 for use as a homelab server.
Prerequisites Link to heading
Hardware, selected to become a homelab server. For example, Raspberry Pi 4. You can buy it from any electronics retailer or order it online. Pieces tha are needed:
- Raspberry Pi 4
- power supply
- microSD card
- case
- [Optional, but advisable] SSD drive
And some additional devices that simplifies configuration a lot: keyboard, display, MicroSD adapter, HDMI cable.
SSD drive is optional, as everything can be setup on MicroSD. However, in case of high amount of read-write operations memory card can crash at most unsuitable moment (that is literally any moment when something breaks). For the sake of this posts, I will assume that there will be an SSD connected and mounted on path /ssd
Case can be selected from a wide range of available on the market. I prefer ones with passive cooling, as my server works 24/7. Thus my choice fall on Argon One M.2. It’s top cover is metal and work as a large radiator. Plus it adds an extension that allows to connect M.2 SSD drive.
IMPORTANT when selecting SSD drive remember to check if it is NVMe or not. And compare it with which are supported by selected case ot adapter. I’ve done this mistake, and was not able to start assembling long-waited setup, because ordered NVMe SSD that is not (or maybe already WAS not) supported by that Argon case. Had to order another SSD and wait more…
Step 1 - Install the Latest Version of Raspbian Link to heading
Once you have your Raspberry Pi 4, you’ll need to install an operating system. Raspbian is the official operating system for the Raspberry Pi, and it’s based on Debian Linux. To get started, download the latest version of Raspbian from the official Raspberry Pi website.
Next, you’ll need to flash the Raspbian image onto your microSD card. You can use a tool like Etcher to do this. Once you’ve flashed the image onto the microSD card, insert it into your Raspberry Pi 4.
In case, if there is an SSD connected to Raspberry Pi, it is possible to configure it to load directly from SSD. There are manuals on the internet for that. I skipped that part, prefer to keep Raspbian on MicroSD and use SSD as mounted folder, where all installed services keep files.
Step 2 - Update Raspbian Link to heading
Once you’ve installed Raspbian, you’ll need to update it to ensure that it’s running the latest software. To do this, open a terminal window and enter the following command:
sudo apt-get update && sudo apt-get upgrade -y
This command will update all the software on your Raspberry Pi 4 to the latest versions. Depending on the speed of your internet connection, this process may take several minutes.
Step 3 - Install Docker Link to heading
Docker is a popular containerization platform that allows you to run applications in isolated environments. To install Docker on your Raspberry Pi 4, enter the following command in the terminal:
curl -fsSL https://get.docker.com -o get-docker.sh && sudo sh get-docker.sh
This command will download and install Docker on your Raspberry Pi 4. Once the installation is complete, you can verify that Docker is running by entering the following command:
sudo docker version
This command will display information about the version of Docker that is installed on your Raspberry Pi 4.
Step 4 - Install Docker Compose Link to heading
Docker Compose is a tool for defining and running multi-container Docker applications. To install Docker Compose on your Raspberry Pi 4, enter the following command in the terminal:
sudo apt-get install -y docker-compose
This command will install Docker Compose on your Raspberry Pi 4. Once the installation is complete, you can verify that Docker Compose is running by entering the following command:
docker-compose version
Step 5 - Install Portainer Link to heading
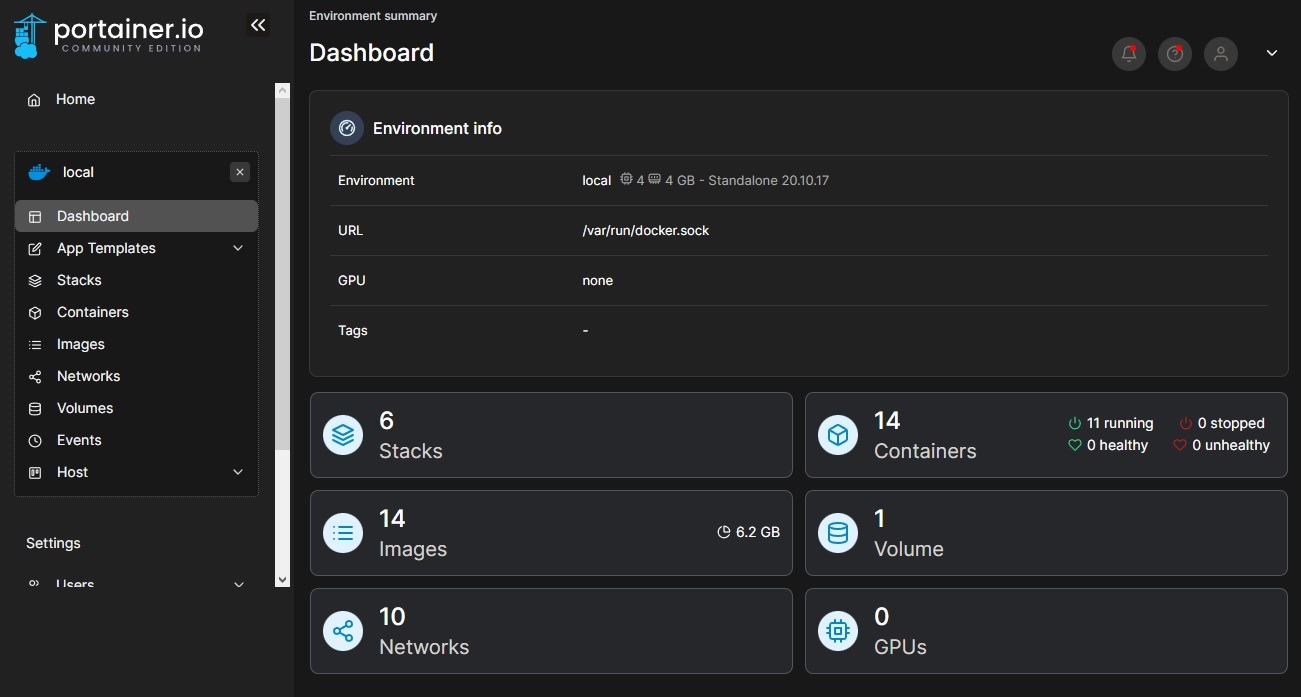
Portainer is a web-based user interface for managing Docker containers. Optional software - it is possible to run and manage docker containers and stack using docker and docker-compose. However, web interface makes many operations a way easier.
To install Portainer on your Raspberry Pi 4, enter the following command in the terminal:
docker volume create portainer_data && sudo docker run -d -p 8000:8000 -p 9000:9000 --name portainer --restart always -v /var/run/docker.sock:/var/run/docker.sock -v portainer_data:/data portainer/portainer-ce
Now you should be able to login to Portainer instance on http://<homelab-server>:9000. On first login it will guide you through initial configuration.
Step 6 - Define networks Link to heading
Stack on docker can be connected to multiple networks. Common approach is to keep 2 networks per stack:
- stack network, used by services inside one stack to communictae between each other
- common intranet, that connects selected services from different stacks.
It is required to create only intranet network. Stack networks will be created automatically. To create network:
- Click the “Add Network” button
- In the “Name” field, give your network a descriptive name, for example
intranet - Choose a “Driver” for your network: bridge
- Click the “Create” button to create your network
Once your network is created, you can use it to connect your containers together. When you create a new container, you can specify which network it should be connected to.
TO BE CONTINUED… Link to heading
By this moment, you should have a Raspberry Pi 4 ready for installing different services that are planned to be used in a homelab. In the following post Homelab. Proxy, I will describe how to install Nginx Proxy Manager - web-based tool that provides an easy-to-use interface for configuring and managing reverse proxies. It will allow to structure and beautify network paths, used to access homelab services.